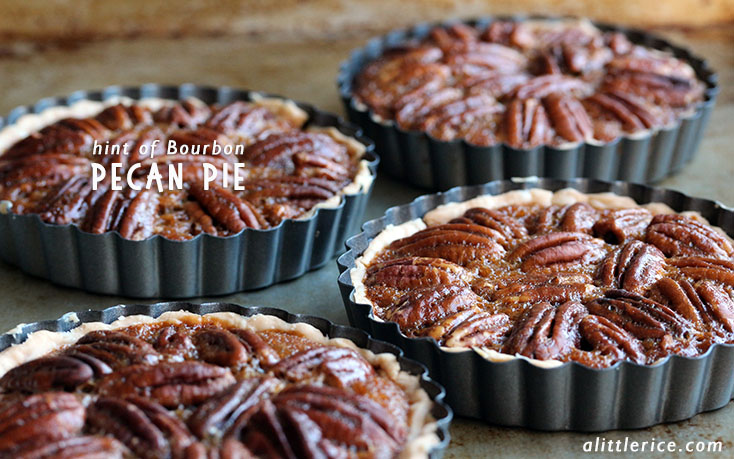
胡桃派是美國最經典的甜點之一,更是感恩節家家戶戶必吃的傳統甜點。胡桃派有著滿滿的堅果香味,配上焦糖口味稍微有一點黏牙咬勁的内餡,和酥脆的派皮,歷年不衰的高人氣是好喫的證明。每年一到秋天我就會忍不住的開始想吃。
當然,我這次也改良了一下美式經典胡桃派的食譜。大部分胡桃派最大的問題就是太甜,甜到吃不出胡桃的香味,而且吃兩口就膩了。所以我的食譜降低了糖的分量,而失去的容量就多加胡桃來補足,這樣每一口咬下去都是胡桃滿滿的堅果香味,而焦糖内餡只是補助了甜味和加點不同的口感。
爲了讓味道更豐富,我還加碼加了美國南部釀的威士忌 – Bourbon。Bourbon 只能使用全新但經過烘炙處理的美國白橡木桶陳釀,酒香浓郁,口感醇厚绵柔,我覺得與胡桃派的味道是絕配。雖然Bourbon 的酒精濃度挺高的,但在煮内餡的過程中大部分的酒精都蒸發掉了,只留下味道。
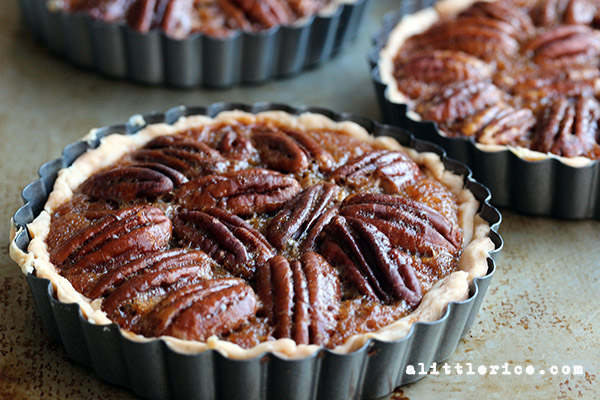
經典的做法是9寸的派,但我做成4.25寸的嬌小版,看上去可愛,每個人分量也比較合適。
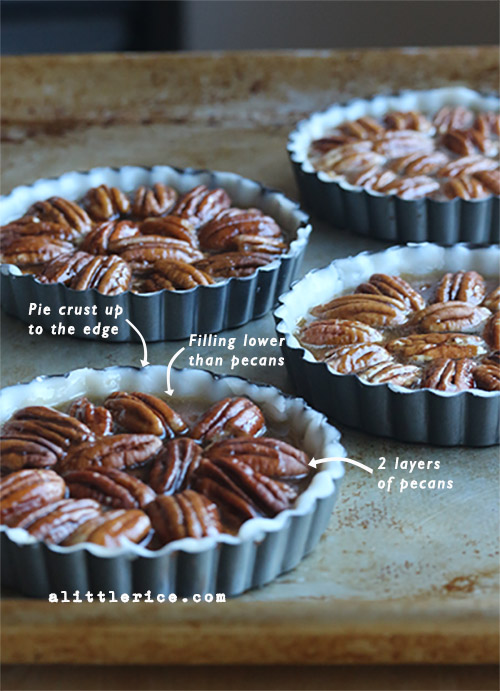
烤的時候派皮會縮一點,所以餡料不要加到頂。奶油、紅糖、蛋做的内餡會膨脹一點,所以不要覆蓋過胡桃,但是淋上去的時候每個胡桃都要整個淋到,這樣烤好的派一眼就看到亮眼的胡桃,很漂亮。
[recipe]
Make 4 4.25″ mini pecan pies
[ingredients]
- 9-inch pie crust dough
- 2.5 Tbsp butter
- 1/3 cup brown sugar
- 1/3 cup corn syrup
- 1 tsp vanilla extract
- pinch of salt
- 1 Tbsp Bourbon
- 2 tsp corn starch + 1 Tbsp water mixed together
- 1.5 eggs
- 1.5 cups pecans halves
[directions]
- Preheat oven to 350F.
- Gently cut out 4 rounds of pie dough that are 1/4″ larger than the pie shell. Press each dough circle into the pie mold up to the top of the pie shell and cut off the excess.
- Fill each pie mold with one layer of the smaller pecan pieces, then arrange the nicer looking pecan halves on a second layer on top.
- Beat the eggs well in a bowl big enough to hold all the ingredients except for the pie dough and pecans.
- Add the butter, brown sugar, corn syrup, vanilla, salt, bourbon and corn starch water into a small pot and bring to a boil. Simmer for a minute or 2 until dark brown, thick and bubbly. Turn off stove.
- Very slowly add the hot filling mixture into the beaten eggs while whisking quickly to incorporate. In the beginning, add just a little bit of the filling at a time and whisk until well combined before adding more.
- Pour a quarter of the filling mixture evenly over each of the pecan pie molds. Make sure each pecan looks wet on top. Gently tilt the pie molds to evenly distribute the filling.
- Bake for 35-40 minutes, until the filling is set. Then let the pie cool at room temperature before serving.
[/recipe]